Here’s how to make Easy Apple Cake by Mary Berry in one simple recipe! This recipe comes from Mary’s book Fast Cakes. You can now see me make this cake in a prerecorded video as well!
One Saturday, I stopped by my favorite local bookstore, Pegasus Books to browse cookbooks, and left with a stack of purchases, including Mary Berry’s Fast Cakes.

I loved the concept of this. Mary Berry, as many people know, is famous for her appearances on the Great British Bake Off as well as her cookbooks. A lot of what puts people off about baking is how long it takes. Many of these recipes have ingredient lists that are barely a paragraph block long! I spent an afternoon tabbing recipes and was sold.
I can’t say I’m the biggest fan of apples, but this apple cake recipe by Mary Berry caught my eye. First of all, in the United States, you often hear of apple pie, but rarely of “apple cake.” Apple pie is associated with the taste of cinnamon, the crisp crust, sometimes mushy and gooey apples, and lots of sugar. I don’t know if most people have tried a good apple pie, but many of us have had an over-processed “bad” one. Probably from your local convenience store or a sickly sweet cafeteria lunch “dessert.”
My partner said he wasn’t a fan of apple pie, but this one had him change his mind. It has the lovely flavor of almond, with the almond extract being the supporting star of this dessert. This cake is so easy to make and the flavor is well worth the bake time.

This recipe has a fairly easy peeling and cutting process with the apples. All you need are two large apples, but you want to make sure to weigh them carefully to make sure you have the right ratio.


After soaking the apples, you spread the batter over. Definitely have a food scraper handy because this is sticky! Don’t worry about perfection though. This recipe is foolproof and I promise even a beginner baker and turn out with a fantastic cake.

Mary Berry’s Easy Apple Cake
Equipment
- Peeler
- 8-inch cake tin or springform pan
- Parchment Paper
- silicone scraper
Ingredients
- 9 ounces cooking apples weigh after peeling and cutting
- 1¼ cups self-rising flour
- ¾ cup superfine sugar
- 2 large eggs
- ½ teaspoon almond extract
- powdered sugar to decorate
- optional: homemade whipped cream as a topping
Instructions
- First, heat your oven to 350° F and line your cake pan with a fitted circle of parchment paper.
- Peel and thinly slice the apples, then submerge them in a bowl of water.
- Add flour and sugar into a medium bowl. Add the eggs and almond extract. Carefully, with a a large spoon or spatula, mix the batter until it is even. It is very sticky. Using your spoon, with the help of a scraper, spread half of the mixture onto the tin.
- Drain your apples and pat them dry with a paper towel. Arrange them over the mixture. Then top with the remaining batter. It'll be hard to spread, but it's okay if the apples show through.
- Bake in your oven for 1 hour and 15 minutes, or until golden and shrinking from the sides of the pan.
- Leave to cool for 15 minutes, then turn it out and remove the paper. Top with powdered sugar, and serve with whipped cream.
Video
Notes
- To make self-rising flour, just combine 1 cup of all purpose flour with a quarter teaspoon salt and 1 1/2 teaspoons baking powder. It’s easy! I like to make two cups at a time and store it in a large porcelain jar for later.
- Superfine sugar is just regular white granulated sugar that has been run through a food processor for about 30 seconds. If you don’t have a food processor, you can also buy superfine sugar, (also called Baker’s Sugar) at supermarkets with well-stocked baking aisles like Lucky’s or Safeway.

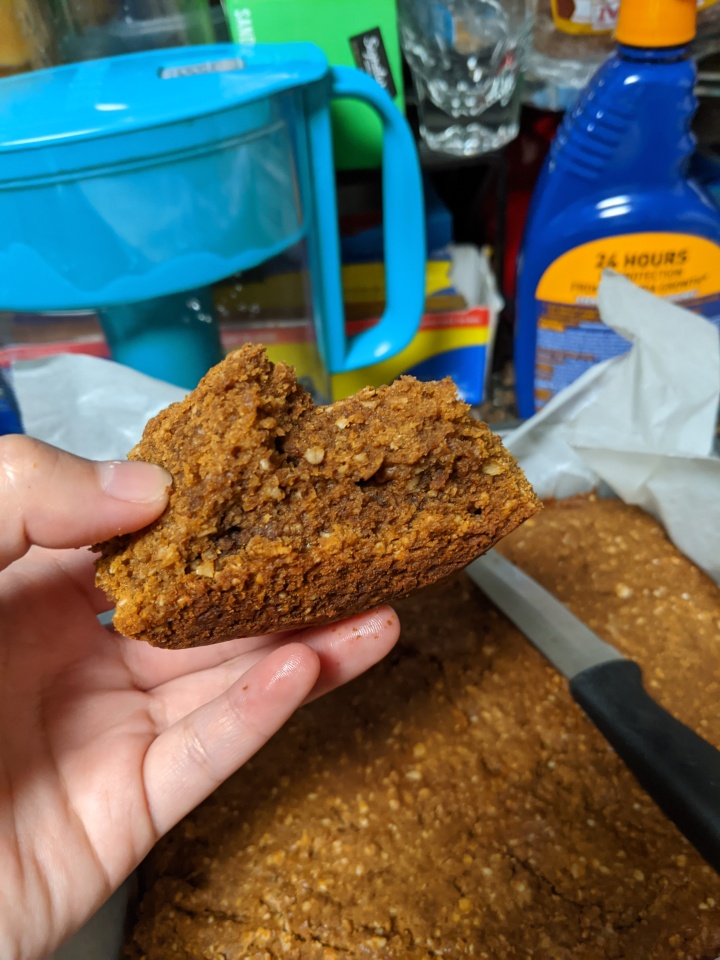
The end result was just too good! My partner and I devoured it within minutes. Like this recipe? Give it a try and let me know what you think. 🙂
One day, I’d like to make a savory version of an apple cake myself. It’s more common in British baking rather than American baking, but it’s not surprising, seeing that half my baking books are written by Europeans, like Mary Berry, herself. By the way, I totally do recommend this book and will probably write a review once I have tried a few more recipes.
See here for more recipes from Mary Berry, like apple cake, honey cake, chocolate cake, and more!

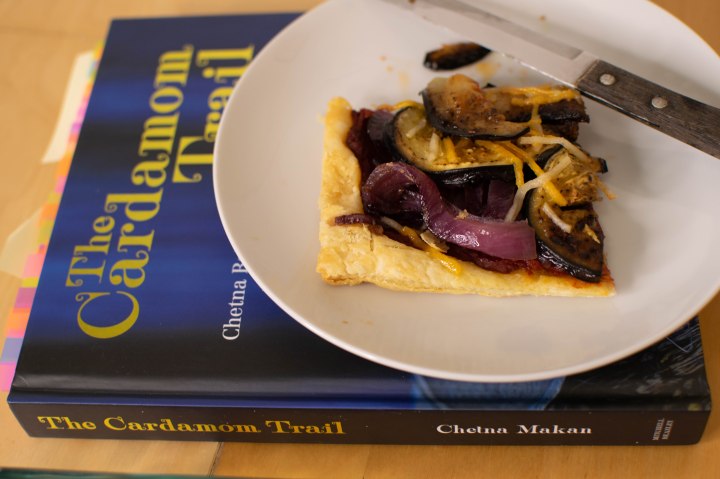
Until then, happy baking and eating! Don’t forget to check out my other recipes like this one by Chetna Makan.
Note, this blog post contains an affiliate link from Amazon. I get a small commission if items are purchased through the link at no cost to the buyer.