Need a plant-based smoothie with no banana? Have no fear. These three delicious plant-based vanilla protein smoothies will help you get the gains you need, even with a pesky banana allergy (or hatred.) Here’s what I’ve been trying at home!
Recently I’ve been hitting the gym to lose the pandemic weight. As a pescatarian that mostly cooks plant-based food, it’s been hard to get enough protein. So I’ve been drinking some plant-based vanilla protein shakes. But it’s really hard to make a good-tasting protein shake when you can’t use bananas! I don’t hate bananas, actually… I’m just allergic to them. Which is super sad coming from a former Jamba Juice employee!
I’ve looked up other fun banana-less smoothies, but while delicious, many of these recipes are still high in carbs, hard-to-find-ingredients, and aren’t optimized for protein or protein powders. So I started experimenting with my own, and I’ve found three smoothies that work!

Here’s how I make my delicious fruit-based smoothies in 5 ingredients or less. Just add some of your favorite plant-based milk, peanut butter, some fruit, and voila! You’ve got three options for no banana vanilla protein smoothies!
What’s the Protein Powder?

By the way, the protein powder I’ve been using is the Garden of Life Organic Protein in Vanilla. This one in particular makes a delicious shake, and it comes with 20 grams of protein with 110 calories. There are other variations from Garden of Life, but I haven’t tested them. Of course mileage will vary depending on the protein powder you pick. However, you stick with the one I’ve suggested here, I can provide the calorie content as well so you can input it right into your app or Excel if you’re tracking your macros.
Three Variations on a No Banana Vanilla Protein Smoothie

Classic Vanilla & Peanut Butter Creamy Smoothie

The Classic, and the first smoothie I experimented with that made me think, hey this isn’t half bad! A tablespoon of peanut butter and half teaspoon of cacao nibs can go along way. Cacao nibs add a delicious crunch and mouth-feel to an ordinarily normal smoothie. Make sure not to add too much as they do go up in calories. You can find them at any health food store, or upscale supermarket.
Strawberry Vanilla Smoothie

Strawberries are a delicious substitution for bananas when necessary. They’re always around and are probably some of the best tasting fruits when it comes to keeping their quality while frozen. This smoothie gets fruit in your diet and it also tastes great!
Peaches and Honey Smoothie

the making of 
… and the creation!
Super simple and delicious – the peaches will fill in for your banana here and they’re deliciously creamy. To complement your peaches, you can add a touch of honey or maple syrup.

Three Delicious No-Banana Vanilla Protein Smoothies
Equipment
- High Speed Blender
Ingredients
Peanut Butter Original Creamy Smoothie
- 2 cups unsweetened almond milk or plant-based milk of choice
- 1 scoop vanilla protein powder
- 1 tablespoon peanut butter
- ½ teaspoon espresso powder
- ½ teaspoon cacao nibs
Strawberry Vanilla Smoothie
- 1.5 cups unsweetened almond milk or plant-based milk of choice
- 2 cups frozen or fresh strawberries
- 1 scoop vanilla protein powder
- 1 tablespoon peanut butter
Peaches and Honey Smoothie
- 1.5 cups unsweetened almond milk
- 1.5 cups tightly-packed frozen peaches
- 1 scoop vanilla protein powder
- 1 tsp honey or maple syrup
- optional: cacao nibs or peanut butter
Instructions
- Blend all the ingredients together. If your blender isn't able to process all of the frozen fruit, try defrosting it in room temperature water for a minute, or adding a little more milk, and try again.
Notes
What do you think? For a lower calorie smoothie without sacrificing taste, you can always omit the cacao nibs or peanut butter. You can also replace cacao nibs for your favorite nut, like pumpkin seeds, peanuts, cashew, or even oats to give it texture.

In the meantime, here’s the calorie content for the smoothies, if you follow them line-by-line. These are again, measured with the Garden of Life vanilla protein powder, Califa unsweetened almond milk, and generic peanut butter and cacao nibs. If you want to really omit the carbs and fat, you can always enjoy just a protein powder shake with almond milk. But where’s the fun in that?
Classic Vanilla & Peanut Butter Creamy Smoothie
306 Calories, 26.5g protein, 18.5g fat, 8.8 carbs, 5.3 fiber
Strawberry Vanilla Smoothie
349 calories, 26.93g protein, 16.22g fat, 28.62 carbs, 9.3 fiber
Peaches and Honey Smoothie
273.5 calories, 23.6 protein, 4.1g fat, 32 carbs, 5.9 fiber
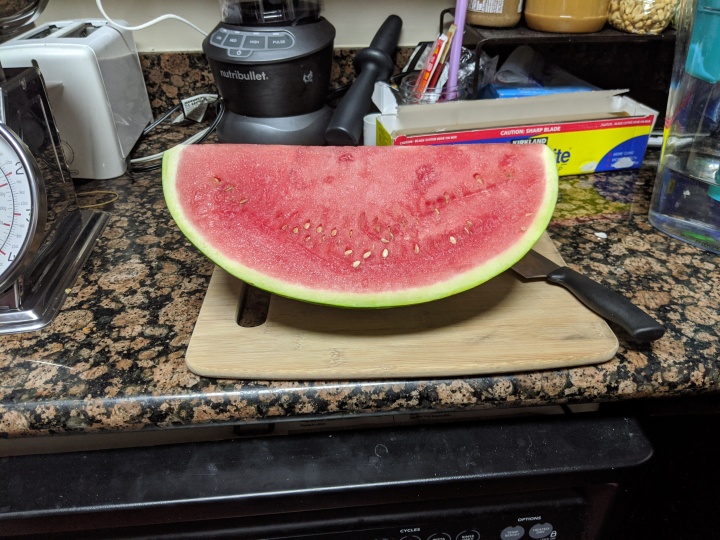
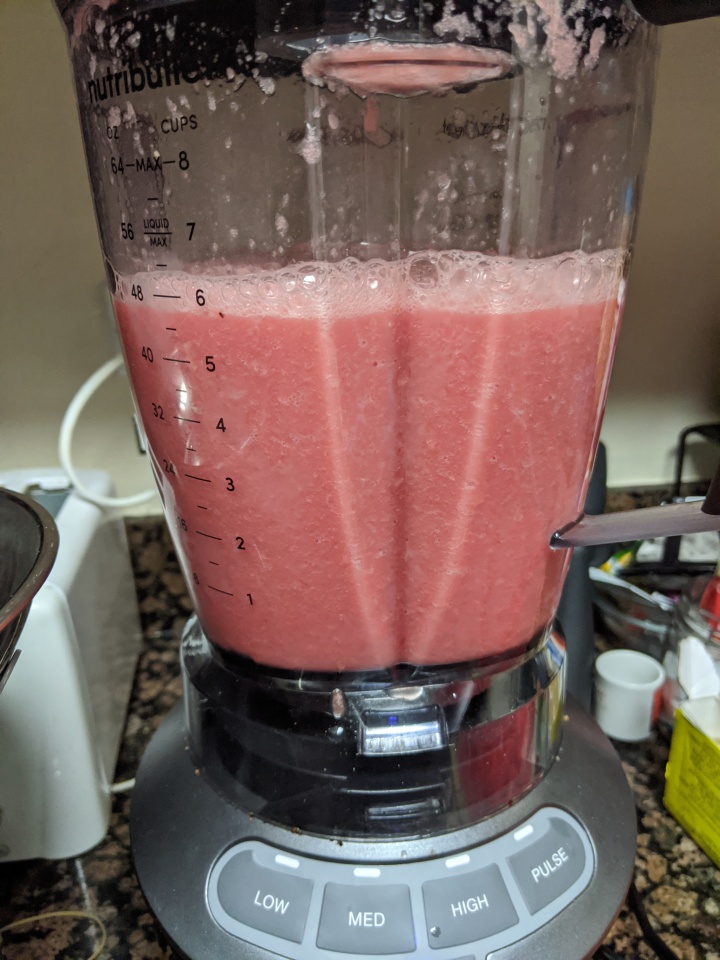
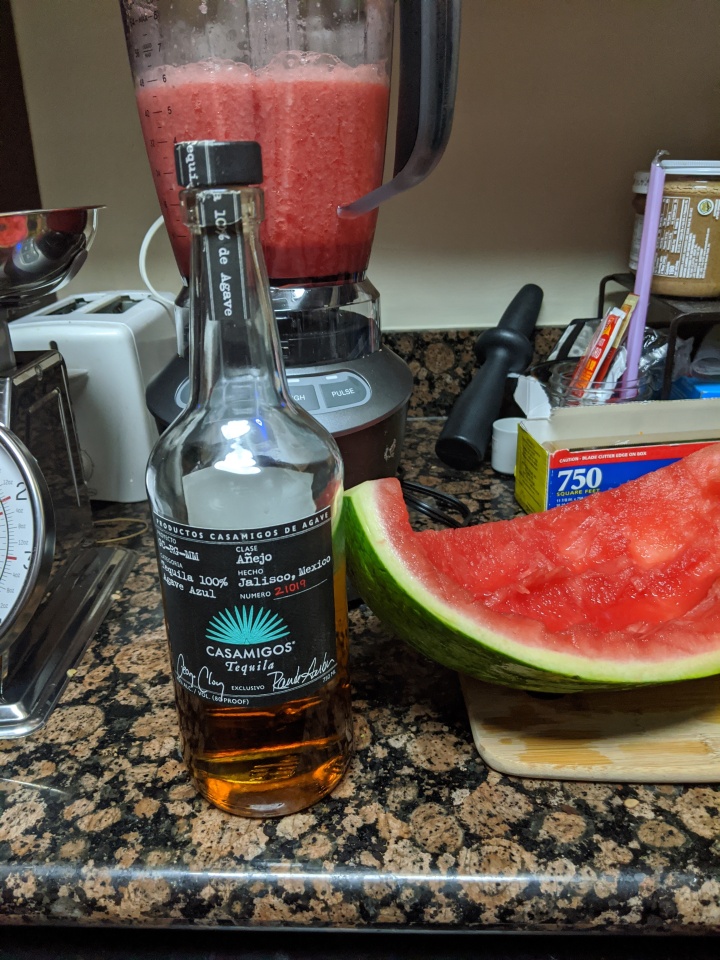
If you like these smoothies, check out my other non-protein banana-free smoothie recipes as well, like my Peach Mango Yogurt smoothie, Strawberry Rose Lassi, or Watermelon Tequila cooler.
Let me know what you think!
Note, this blog post contains an affiliate link from Amazon. Now in general, I’d rather people buy things from their local-mom-and-pop store, but the link is a good reference for all the specs you might want to look up, or researching exactly what it’s called to find it, blah blah blah. If you’re going to shop through Amazon anyway, I get a small commission if items are purchased through the link at no cost to the buyer. Otherwise, I can confirm that my local bay area Target carries this brand in the protein powder aisle and you can probably find it in your local health food shop as well.